This episode originally appeared on What They Think on January 22, 2011.
Today I’ll take you on a journey to mask one of the same images I used last week, a photo of my gracious wife (she being gracious for allowing me to use her image in my blogs) standing on a plain white paper background. The background, for those who care, is a Savage brand official photographic paper background, nine feet in width, suspended from a Savage brand backdrop stand.
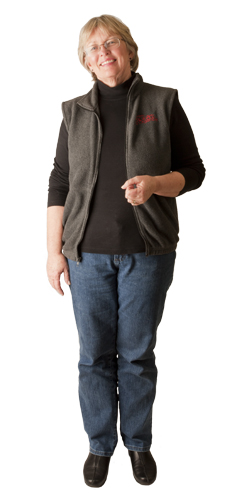
This is the final image, after being masked with MaskPro and Photoshop.
The lighting is two Canon 580EXII battery-powered strobe lamps on the paper behind the model, and three Paul C. Buff Einstein 640 WS strobe lamps to illuminate the foreground subject. I use a Giant softbox (also made by Buff) and an umbrella as a second front source, and a “separator” light high and behind the model, glancing off her head (top-right-rear). All of this is triggered by radio transmitters on the camera (requires two).
Once in the computer, I need to remove the background. As with the two previous episodes, I want to make a mask in Photoshop using a Layer Mask.
For this example I used a third-party application/plug-in for Photoshop called Mask Pro that allows me to paint a mask that ultimately becomes a mask in Photoshop. Mask Pro is sold by OnOne Software for US$149.00, which is a boatload of money for just making masks. But, considering how many masks I make, it’s worth every penny.
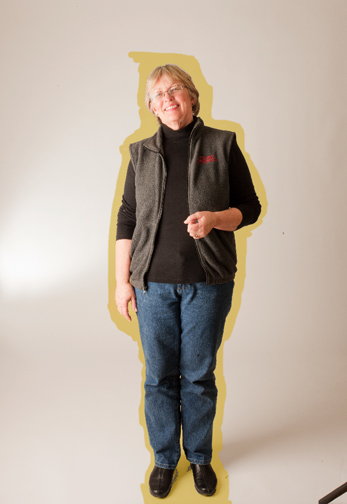
This is my wife in MaskPro. The yellow-gold brushstrokes indicate the outline being created in that special software.
To build the mask, you double-click on the Mask Pro software from Photoshop (image already open and color-corrected). This opens the image in a different window. In this window your choose colors to keep and colors to drop with two eyedroppers. I find it best to the mask in sections, depending on the various foreground and background colors. Skin tones of the face versus various whites and grays in the background I do first. Then I clear the two color palettes and sample clothing for the mid-body and background whites and grays. Once past mid-body I clear again, and choose new clothing colors for the jeans and background colors again.
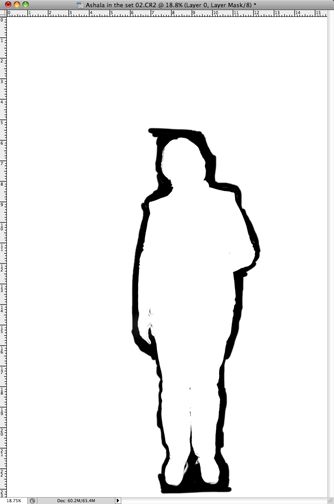
This is the mostly-finished mask made in MaskPro. It still needs some work around the shoes, but the rest is nearly perfect. Filling-in the remainder of the background is done with the paint bucket tool in Photoshop.
Last, I clear again, and do the shoes and the adjacent background. The shoes are always difficult, but it’s easy to fix them in Photoshop using the standard brush on the Layer Mask.
I have used Mask Pro for about six months now, and I have become fond of its ability to mask these photos pretty nicely. It’s particularly effective – though not perfect – on hair. With some practice, and testing with its sliders for brush size, softness and threshold, I am able to make a very good mask of even the fuzziest hair.
In some cases I complete the mask in Mask Pro, then use Photoshop’s new Refine Mask tool to enhance the mask even more. I’ll discuss the Refine Mask tool in my next blog. Notice how cleverly I avoided putting a date on that blog. It’s really busy outside!


