

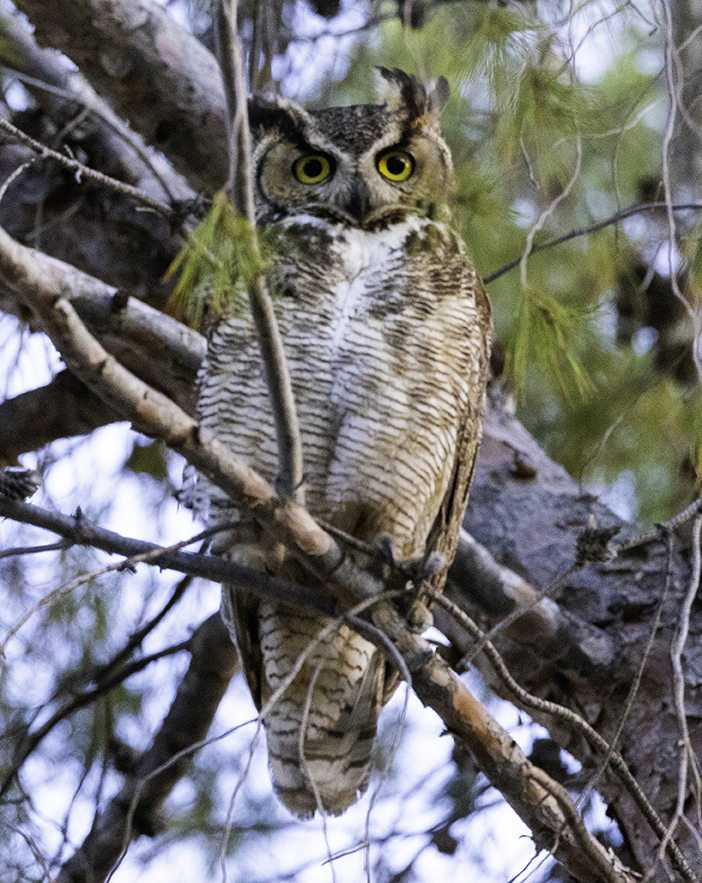
My wife and I recently returned from a three-week adventure to Arizona and New Mexico. We stopped at a number of places en route, including Tucson, where I attended the annual summit of the North American Nature Photographers Association. It was a half-week event of photography and presentations at a fancy golf resort on the outskirts of the city. The hotel had a resident Great Horned Owl (and family), who would pose for photographers every day in his tall Pine tree next to the main building.
The next stop was White Sands National Park in southern New Mexico, where we arrived midday and spent time in the gift shop before driving out onto the hard sand road that winds through the dunes. This is a remarkable place, as the sand is composed of gypsum, which is pure white, and very consistent in texture. The dunes range in size from little hillocks to moderate hills (the largest of them is about 60 feet tall, according to the brochure).
Midday in White Sands isn’t inspiring. The light is flat and uninteresting. We decided to go into town (Alamogordo, about 12 miles northeast) and find our campsite at Lee Oliver State Park, ten miles further to the east. We planned to return to the dunes at the end of the day when shadows are long and the light on the sand would be very dramatic.

White Sands closes its gates at night, and they warn you that you should plan to leave the park before dark. They are serious, as numerous visitors get lost each year, requiring search and rescue. It’s easy to see how easily people get lost in those sand dunes, because (to paraphrase Ronald Reagan) if you’ve seen one sand dune, you’ve seen them all.
This is, of course, not true. The dunes are incredibly beautiful and varied. Hiking on them exposes that variety.
But it is important when you go out onto the dunes that you know how to get back. Getting disoriented while hiking on these dunes would be very easy.
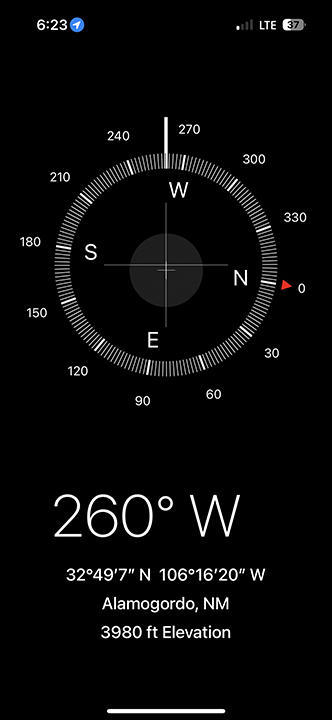
To plot our return, I called on my Boy Scout training. I found a unique mountain in the distance (I dubbed it Backward Half Dome), one that could be seen from anywhere on the dunes, and took a photo of it with my iPhone. Then, using the compass app, I pointed my iPhone at that mountain and took a screen shot recording its compass heading from our starting location. When we set-off on foot to explore the dunes and to take photos, I was confident that I could easily find my way back.
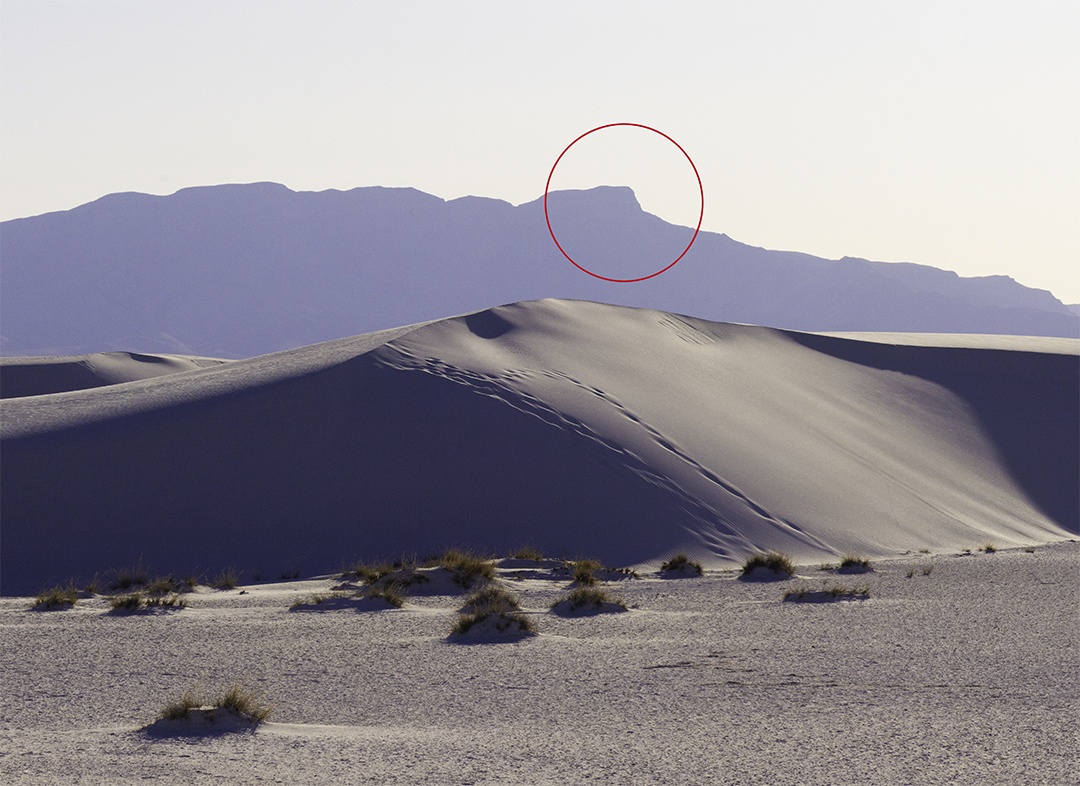
The process is simple: find the mountain, point the compass at the mountain and move left or right until it’s at roughly the same reading as the original, then walk in the opposite direction. You can do this casually by just walking away from that mountain, or you can add or subtract 180 degrees to/from the original heading, then follow your compass at that new heading. This would use battery power on the phone, but checking it occasionally is effective.
In our case, the return was made much easier by a group of people who parked in the same lot we used, then climbed up to the top of the dune adjacent to that parking area to watch the sunset. We just walked toward those people (one of them was wearing a bright yellow dress, making it much easier to see her). We found our way back easily.
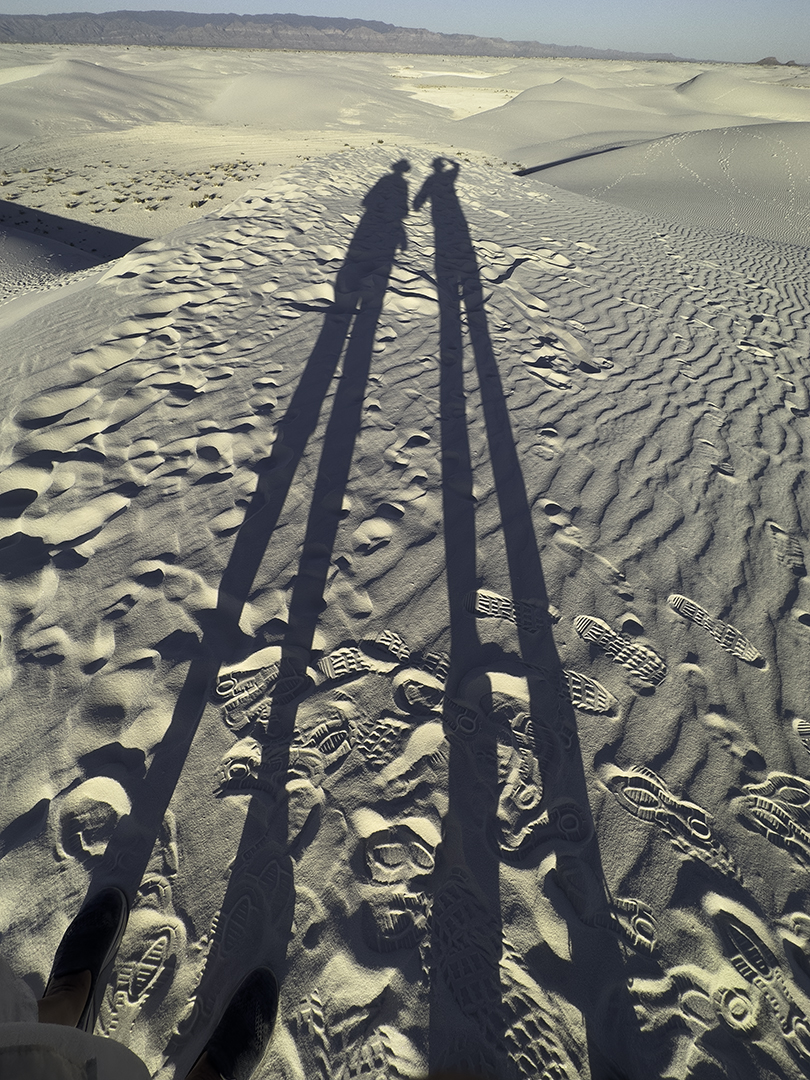
The shadows were as long as I had hoped, giving breathtaking dimension to the dunes, and providing me with a host of amazing scenes. I took a number of panoramic photos, most of which have Backward Half Dome in them. Sunset at White Sands is an extraordinary event, filled with visual surprises. It was a joy to be out there as the day ended.
Follow-up thoughts:
While I was taking the photo of Backward Half Dome, I also captured a screen shot of an app I have called My Altitude. That is a slightly more accurate GPS-based application for hikers and bikers and kayakers. It makes reasonably accurate measurements of longitude and latitude (and altitude, though not as accurately). With a precise Longitude/latitude capture, one could enter those coordinates into Google Maps or Apple Maps and place a pin. Then use the mapping app to follow a route to the pin.
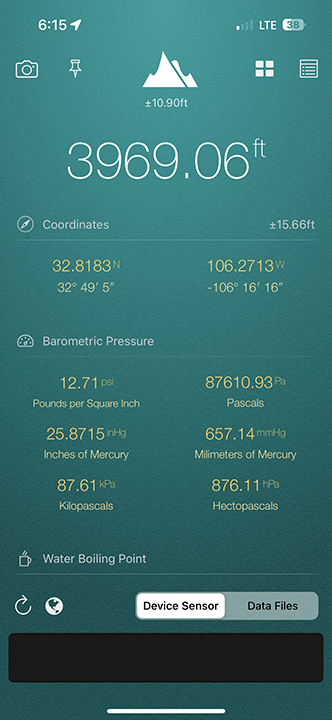
There was scant cellular coverage at White Sands. Without cellular, the mapping approach wouldn’t be possible, but with the My Altitude, I can capture longitude and latitude positions without cellular, so I could use that app to navigate back to a location, though it would be more difficult.
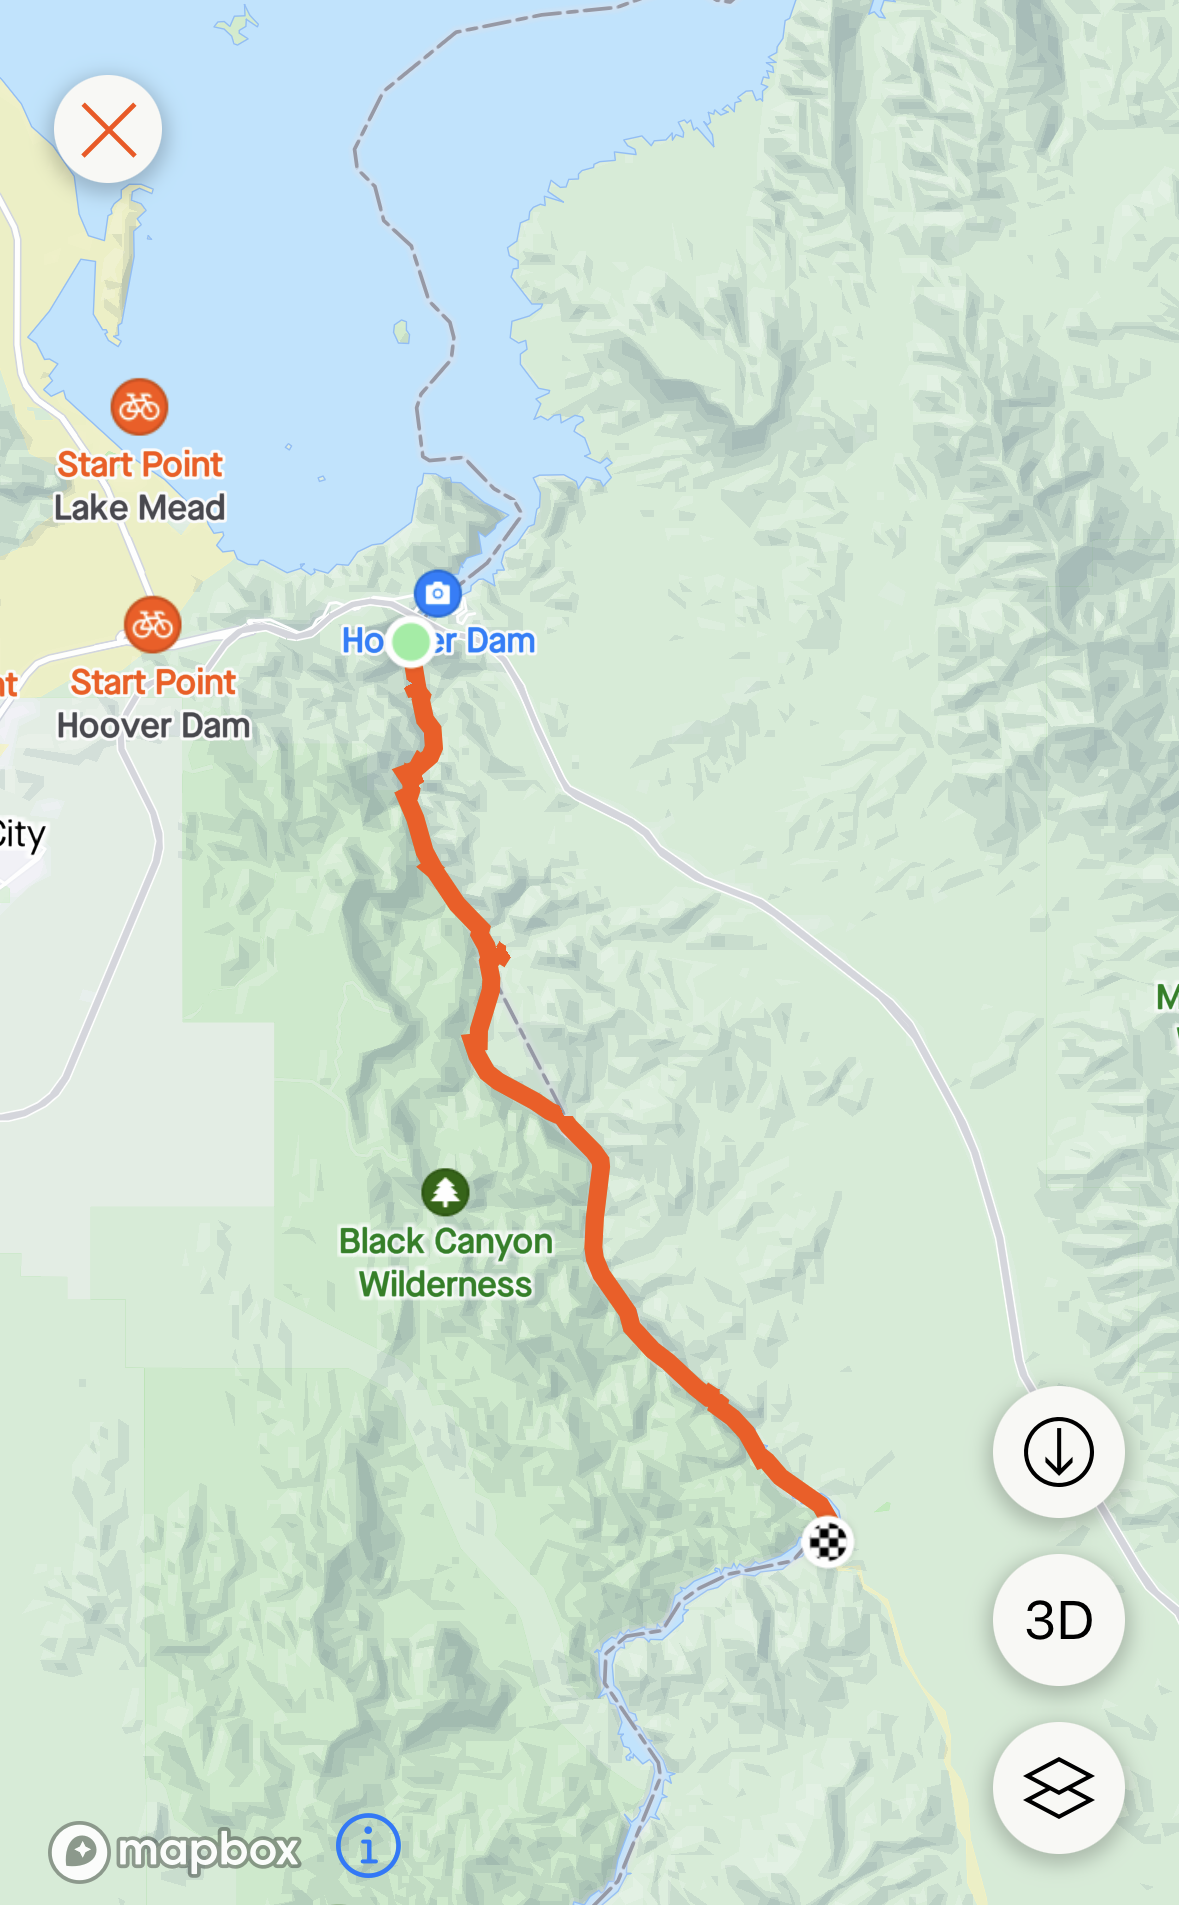
I am also a fan of the Strava application. I often use this while kayaking. It plots the course you have taken, and makes an overlay of your path on a map. With Strava, one could track outbound and follow that track on the return. The only hitch with Strava is that it processes the route offline (requires cellular or WiFi) and presents it to you later – sometimes much later. Like My Altitude, Strava does not require cellular coverage while you are moving. It gathers GPS data that is later collated with map data to create its nice experience maps.
(My only gripe with Strava is their relentless effort to sell you stuff. They want an annual fee for the full-featured app, and they pepper almost every page with advertisements.)
The advantage of using the compass method is that one can just as easily use a mechanical compass (I have one!) and remove the iPhone from the equation. Then the only challenge is to remember the mountain you chose as your distant benchmark point. Using this more primitive technique requires no batteries. That could save your life.