This blog originally appeared on What They Think in January, 2011
It’s simply amazing how many images need to be masked. By masking an image, I can separate the subject from the background, and that seems to be my second job these days.
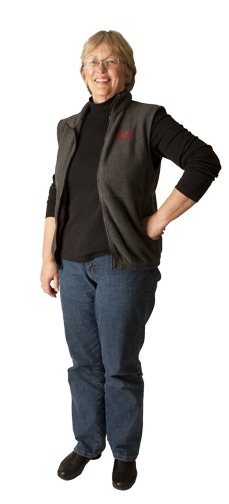
I’m in the middle of the annual rush to take photos for a local bank, and these photos all must be masked. They are photos of people standing on a white paper background. In spite of that background, and the strobe lighting that I cast on it to blast it out to white, every image must be masked in Adobe Photoshop.
I am sure that some would argue that I am not doing a good enough job of lighting, and I agree. However, with the number of strobe lights I have, and the size of the space where I usually work, it’s what I can do. I use three 640 watt-second Einstein strobe lights for the foreground, and two Canon portable strobe flash units to illuminate the background. It’s a lot of light, but I still feel that I could use another pair of Canon portable strobes on the background to make the background whiter (and make the masking process easier). Those lights, including the radio triggers, are about $600 each; that will have to wait.
Masking is a classic photo and Photoshop challenge. Cutting things out of backgrounds is a task that many of us must complete in our day to day work. And it’s sometimes really, really difficult. At the very best it can be time consuming.
One would guess that masking a person standing in front of a white backdrop could be done with channel masks, and then perfected with the masking tools in Photoshop. This is true, and on some of my images, those where the subjects are wearing dark clothes, the process takes just a few minutes because the foreground can be separated from the white background quite easily with the Levels control in Photoshop.
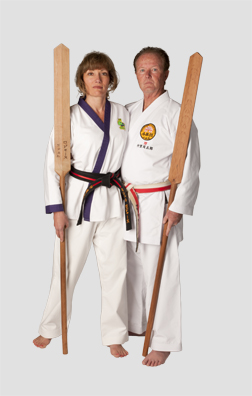
Others, like the photo above of two people wearing karate gis (a white two-piece costume), cannot be separated easily because the differences between white and white are too subtle to be separated with the Levels controls. For this one, I need to create a layer mask. For that I use a combination of tools – brushes, mostly – with black to mask out the background, and white to keep the foreground.
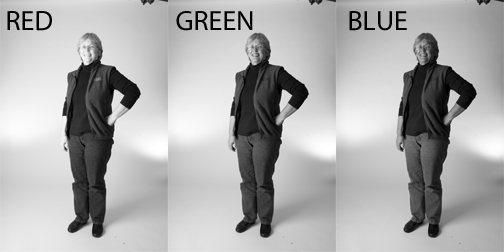
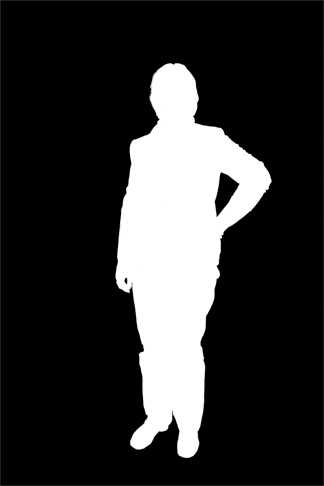
Beginning with channel analysis, I search for the color (red, green or blue) that provides the best contrast between the subjects and the background. In many photos, it’s the green channel. I can copy that channel, then adjust the tonality of the resulting copy to create a mask based on the tones in the photo. With some retouching after the fact I can build a mask to drop the background in a matter of minutes. The mask below is one that took just a few minutes, a result of copying the green channel and adjusting it with Levels.
For more difficult scenes I resort to hand work.
In the next few days I will discuss several ways to mask images in Photoshop, these may of some value to those who do prepress work, or retouching, file preparation or image modification. This kind of work touches us all in some way.


